![]()
![]()
![]()
![]()
![]()

|
|
|
100% Made in USA
JDM Design
FI Supports:
|
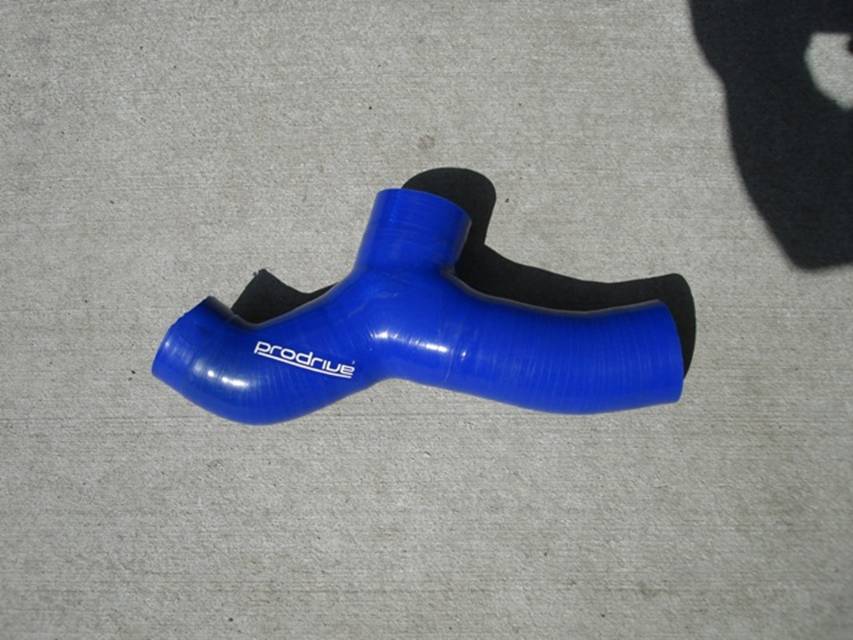
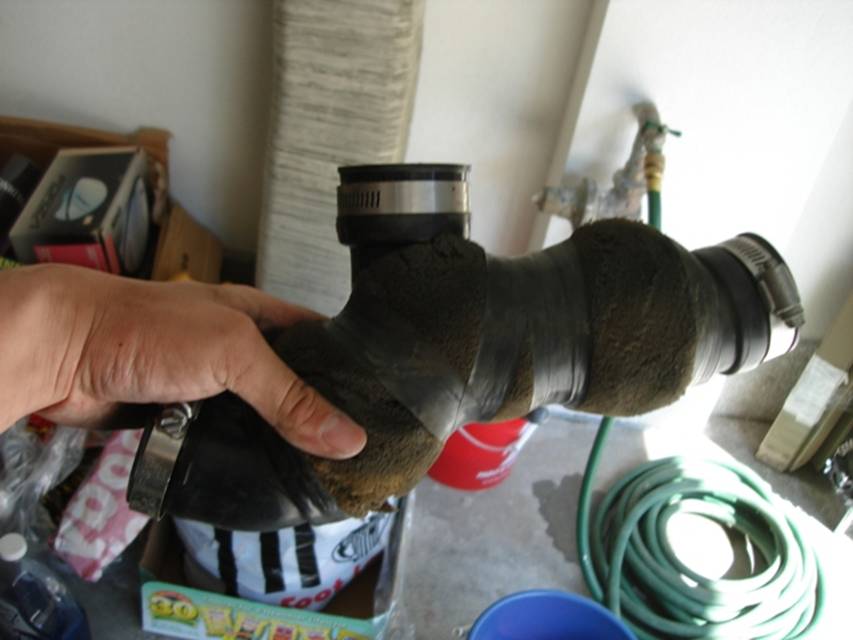
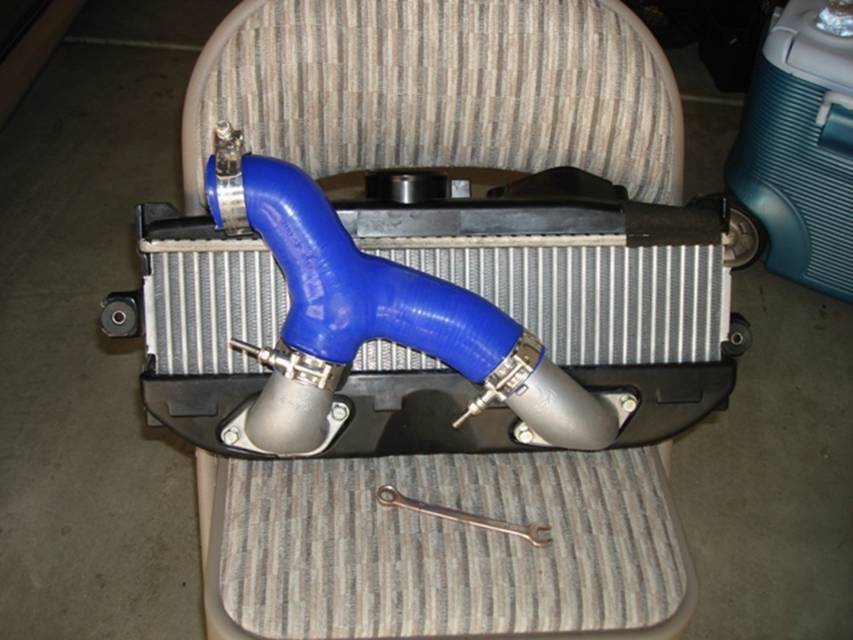
Intercooler Y-Pipe Install This walkthrough will guide you through replacing the intercooler Y-pipe. Perform modifications to your car at your own risk. Be sure to do your research ahead of time before doing any mods. Installation was performed on a 2006 WRX Sedan. Tools needed: Metric socket set (10mm, 11mm, 12mm) Metric wrenches Parts inventory: Prodrive Intercooler Y-Pipe (silicone 3-ply) T-bolt clamps (3) ea
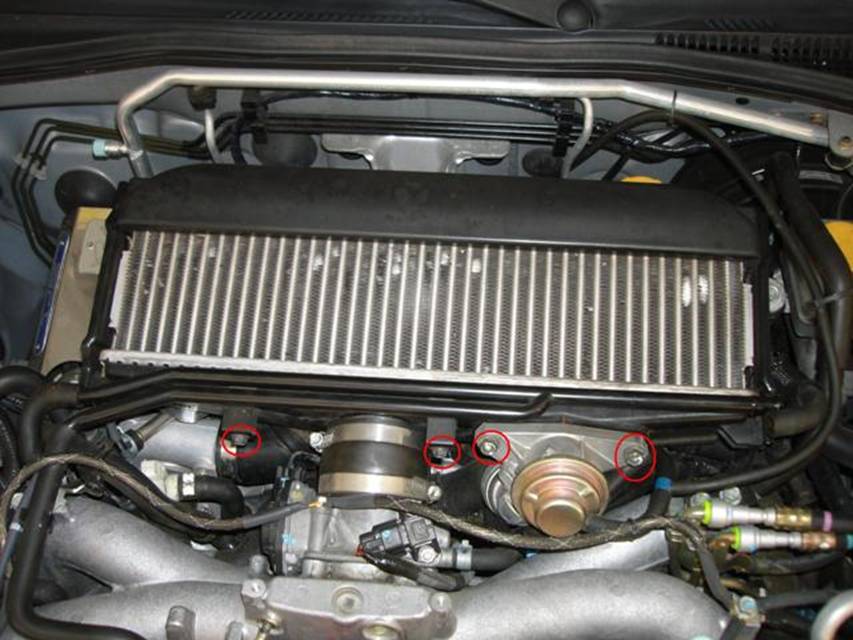
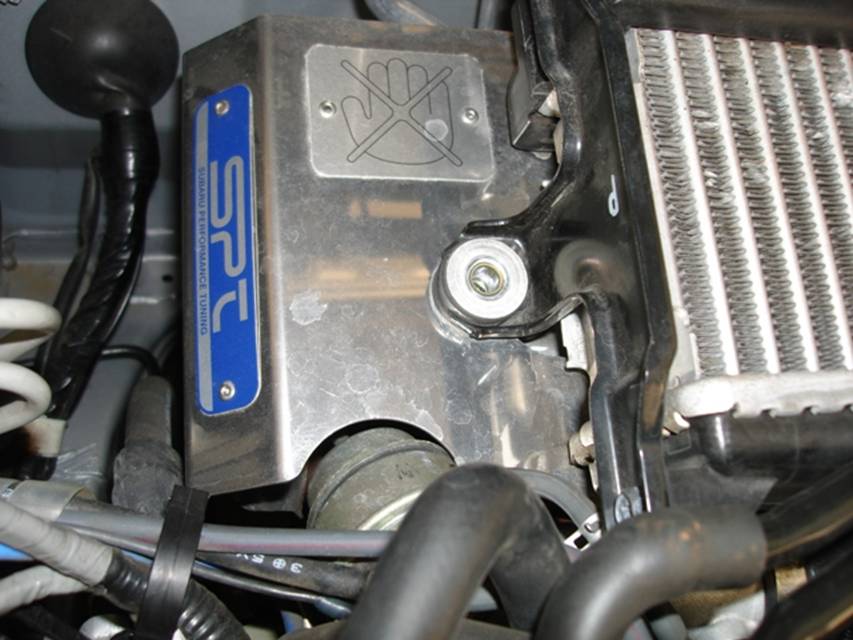
1. Remove the bolts circled in red. Take a mental note of how much torque it takes to loosen these bolts so you know how much to tighten them later on.
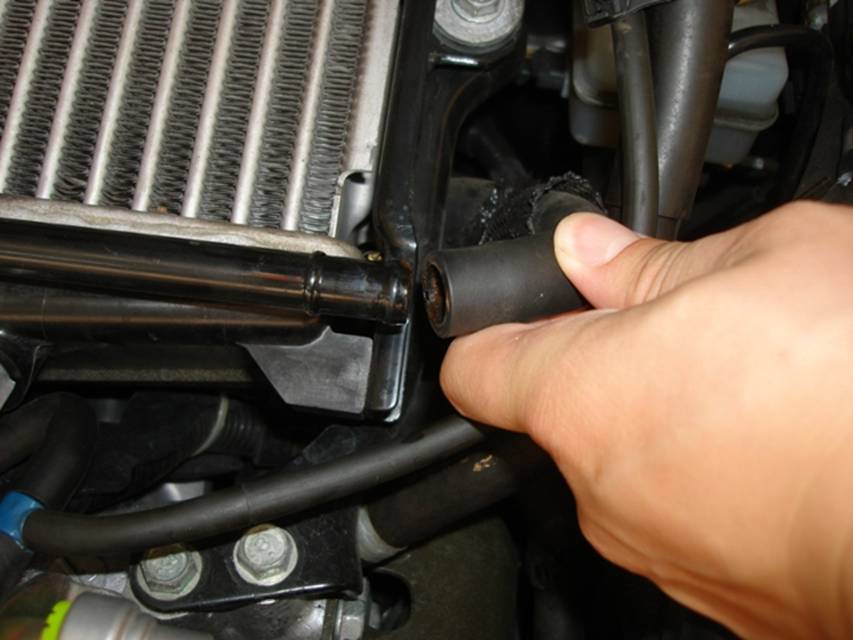
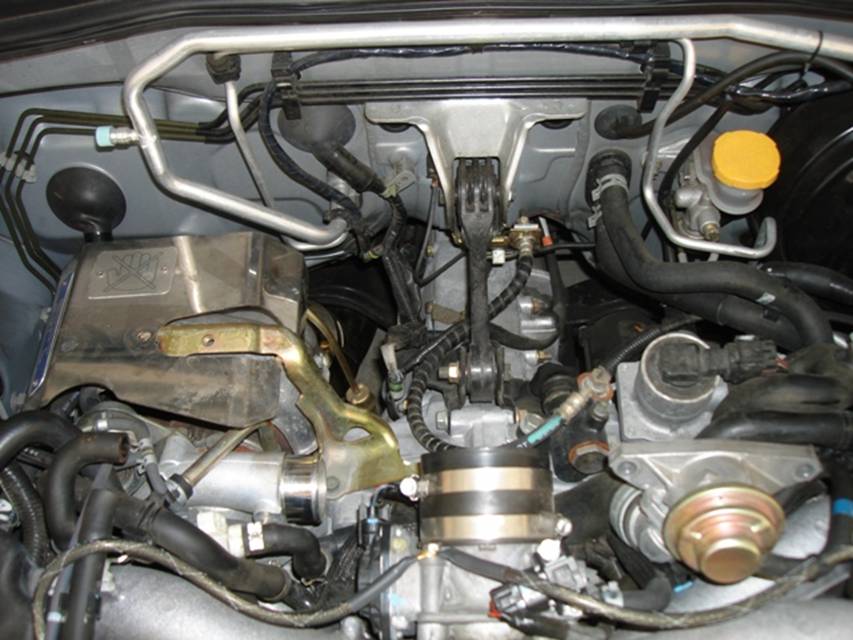
2. Remove the hoses connecting to this rod.
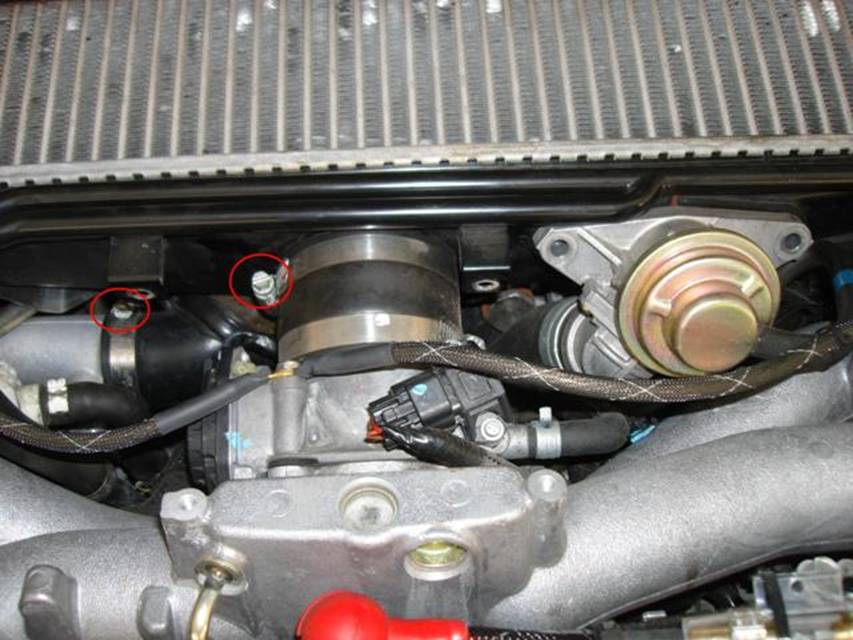
3. Loosen the worm clamps at turbo and throttle body.
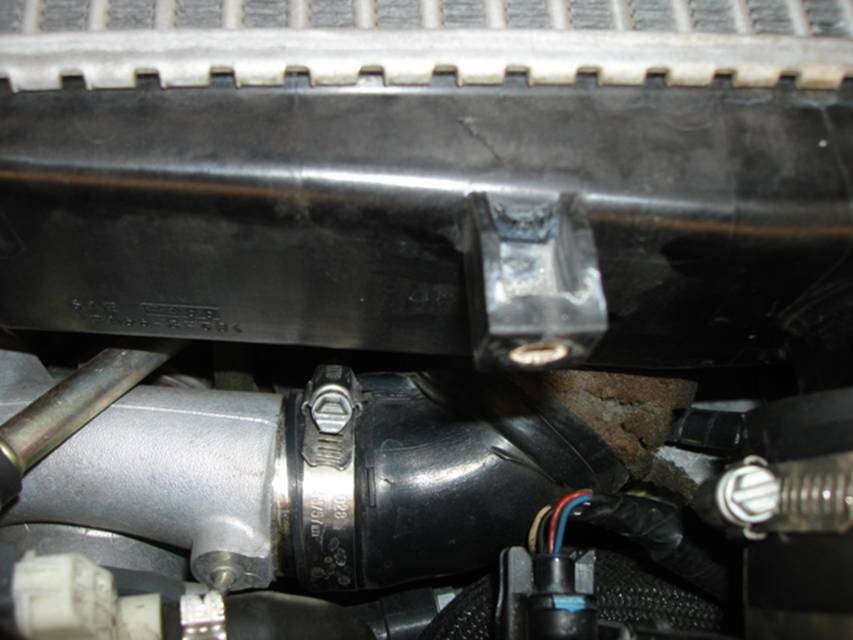
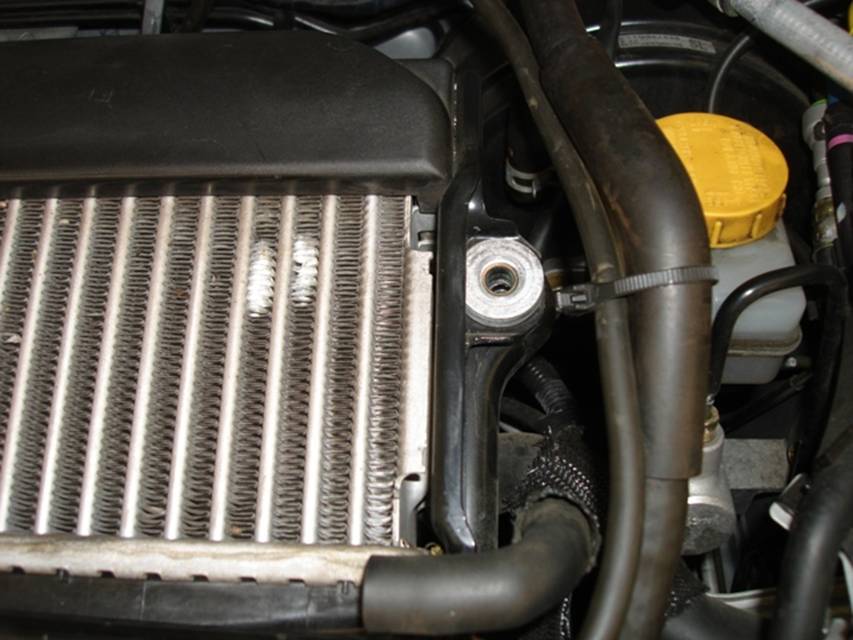
4. Remove bolts for the intercooler mount.
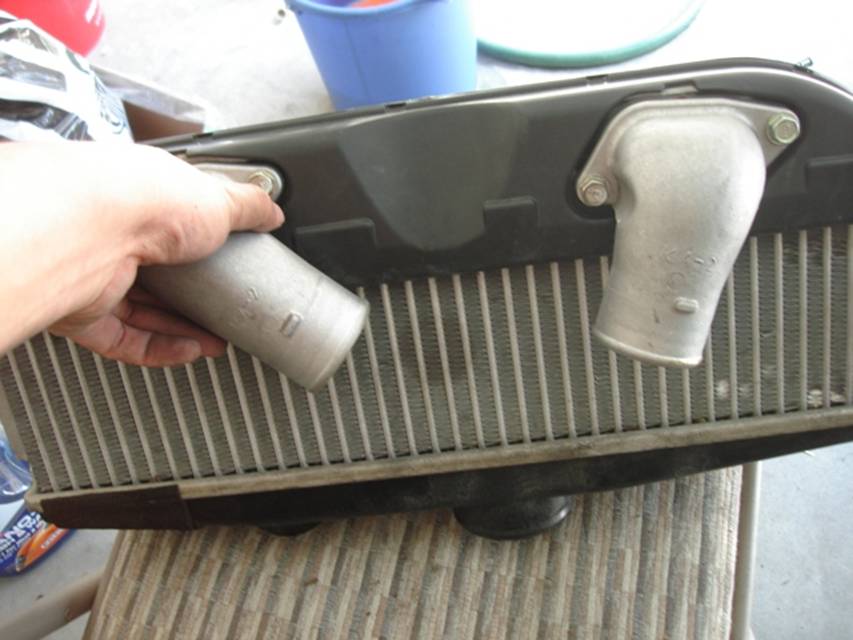
5. Getting the intercooler out is kinda tricky. Pull it out of the throttle body first while tugging at it away from the turbo.
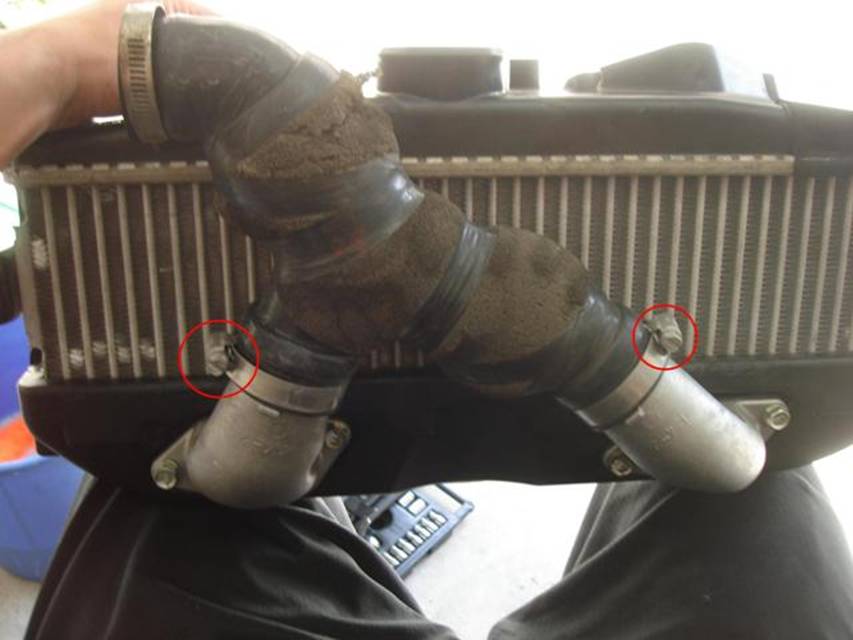
6. Loosen worm clamps at the intercooler circled in red.
7. It takes some wiggle and muscle to get these off.
8. Slide the silicone pipe on in the same orientation as the oem pipe. Tighten down the clamps.
9. To put the intercooler back in, line up the turbo with the y-pipe. Then connect the intercooler to the throttle body. The y-pipe should automatically slide on to the turbo. Put all the bolts back together.
10. Clamp down the turbo and the throttle body. Reset the battery. Go for a test drive. |
Contact us at: flexinnovations@gmail.com .- © 2009 Flex Innovations, All Rights Reserved
All photographs are property of FLEX
INNOVATIONS
|