![]()
![]()
![]()
![]()
![]()

|
|
|
100% Made in USA
JDM Design
FI Supports:
|
DIY Universal Intake Insulation Wrap Although there is some validity to heat soak with aluminum cold air intakes, there are some cases where I believe an intake wrap is just dead weight on the car. Most forced induction cars should not benefit from the wrap. This is because when the air is compressed by the turbo it heats up which then gets cooled by the intercooler. So a few degrees is not going to make a difference if the air is just going to get super heated and then cooled again. Stock intakes generally don't benefit because the materials are PLASTIC. Plastic has a low specific heat and air traveling inside the intake can cool it down pretty quick. In addition, most of these lengths are short or too complex to wrap. I'd like to really question all those people who use heat reflective tape. Maybe if heat was BLASTING on the intake, then a heat reflective tape might work ok, but as far as I know, COOL air is supposed to surround the intake. Also a flow of cool air rushes into the engine bay at high velocities while driving. So what's the purpose of an intake wrap? Well I believe the only reason to use one is if you have a LONG aluminum cold air intake and you do a lot of daily driving. While your car is at a stop, heat builds up in the engine bay and this heat will transfer to the intake making it very hot to touch. When you accelerate, the hot intake tubing heats the moving air inside the intake so it becomes less dense. As a result you may notice a little less power or perhaps nothing at all. The same concept is found in your home with an air conditioner that has an air duct going through a hot attic and into a room. Well if you insulate the duct going through the hot attic, well this means cooler air will reach your rooms. So from my understanding, if you've got a heavy material with a high specific heat surrounding your intake air path, it's going to store heat and then that heat will seep into the air ingested by your car. Thus, ideally one would want the following in an intake wrap:
In early July 2008 I consulted an industrial insulation expert who gave me tips on finding the best CAI wrap material available. What he described to me didn't exist, which means I'd have to make it myself. However he told me what one guy does on industrial air compressors that works great: A company called ArmaCell makes high quality insulation foams. I can take one of their products called ArmaFlex in 1/8" to 1/4" thick sheets, then laminate them with Aluminum or Mylar. The end result will be a thermal insulation foam with a protective layer on the outside. What I would like to make is my Armaflex/Mylar hybrid material, however my supplier can only give me 588 square foot rolls. This means I'd have to shell out a lot of money just to start selling this material to the public. The retail cost might end up being about $4 per square foot, while the average intake may require about 4 square feet. With this type of money ($16) many frugal internet buyers will simply turn to their home depot or refrigeration supply stores for some "similar" materials so they can make their car look like a home improvement store abomination like my intake below. I know for a fact nobody will buy this which is why I'm not going to sell it. Instead I'm going to run some tests, and maybe use my sample materials to see how much an effect heat soak has on a long CAI in daily driving. The first test uses Home Depot material reflectrix ($20) for smallest roll they had. 3M high temp duct tape $7. | |||||||||||||||||||||||||||||||||||||||||||||||||||||||||
| Disclaimer:
Please don't try anything stupid (like start a fire) by putting something in
your engine bay that shouldn't be there. We would like to stress the
importance of following automotive safety standards and using your own
judgment when modifying your motor vehicle. If you think you can do this
yourself and go to Home Depot for some cheap insulation please understand
the RISK involved when attempting to put "home improvement store"
modifications in your motor vehicle. We accept no liability for any
damages, personal or property, if you try this at home.
|
|
| Problem: How do I
reduce the intake air temperature of Cold Air intake automobiles?
|
|
| The Solution: Thermal insulation wrapped
around cold air intake tubing to achieve an air tight sleeve that is
non-adhesive, inexpensive, and safe to use in a hot engine bay. Overview: When monitoring my intake air temperature (IAT) I've noticed that there is a steady rise in IAT at idle on hot days. When my car is parked at a stop light, it is not uncommon for the IAT to rise to 145 degrees or more. When this happens I can feel the car bog down off the line as if it's breathing nothing but hot air. So my solution is to "insulate" the cold air intake system so that heat from the engine bay does not seep into the intake air. The end result is it takes longer for the IAT to rise at idle on hot days, and the IAT temperature is more stabilized being isolated from the heat of the engine bay.* *Based on personal craftsmanship and materials,your mileage may vary.
|
|
 |
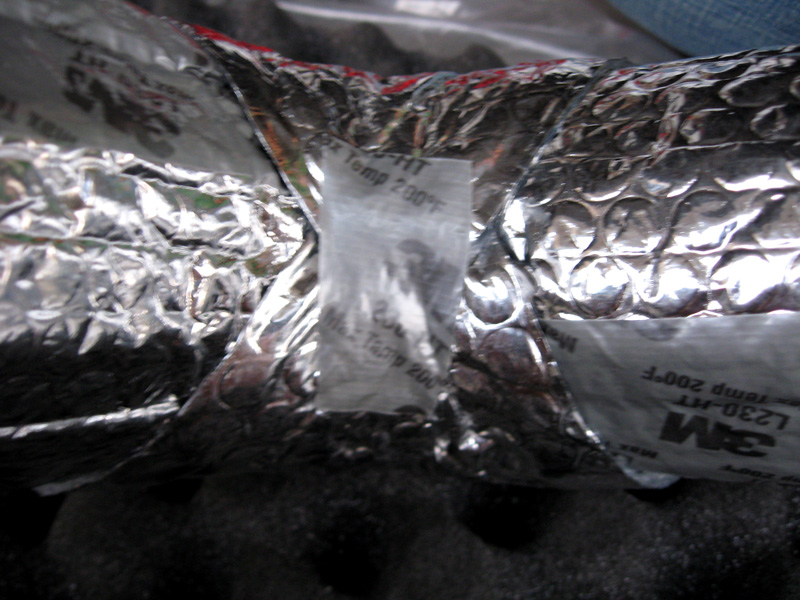
For making the Intake sleeve "air tight", I used this high temperature resistant tape. It has great tack and makes an air tight seal which is what I'm shooting for. For maximum protection, you may want to try an aluminum tape though this will be more expensive. |
 |
I am very hesitant before I put anything "innovative" in my car, so with a butane lighter stick I try to melt and burn the material with an almost 2000 degrees F flame. I concluded that the tape ends up melting and doesn't catch fire which is good. The un-cured exposed adhesive part of the tape WILL burn if put under direct flame though. |
|
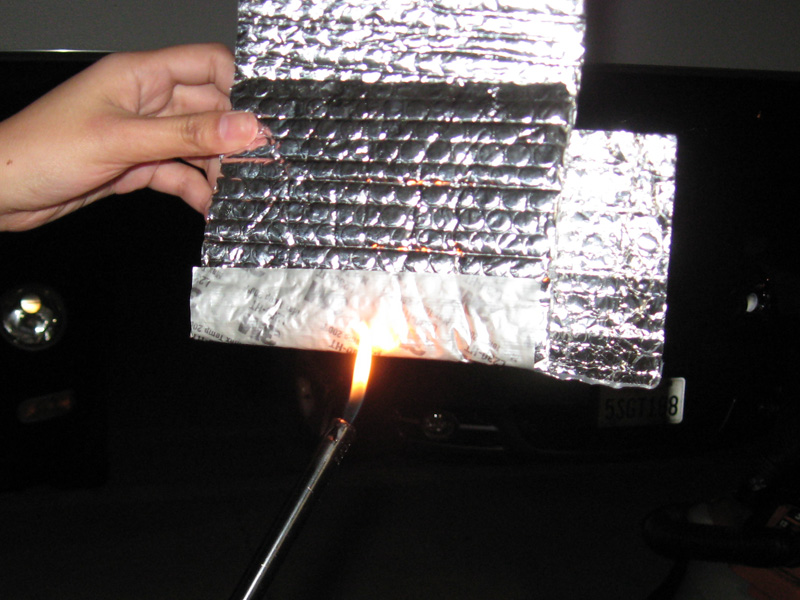
I put the test flame to my insulation material for 20 seconds. Since it is pure aluminum, it didn't melt or catch fire. However the bubble wrap area around the flame did shrink and left a void of gooey polypropylene. |
 |
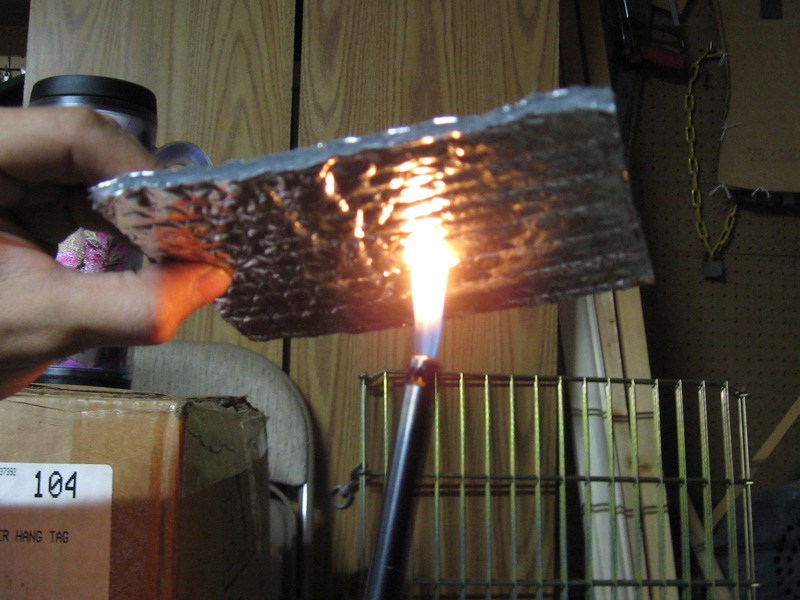
What is amazing is the opposite side of the insulation looked flawless while the flame burnt side was scorched with soot and the sealed air turned into a gooey mess in an area the flame touched. I decided that using this as a cold air intake wrap would be ok. I also concluded that the material does in fact insulate temperature quite well. |
 |
This is a Fujita F5 Cold Air Intake on a 2006 2.3L Mazda3. |
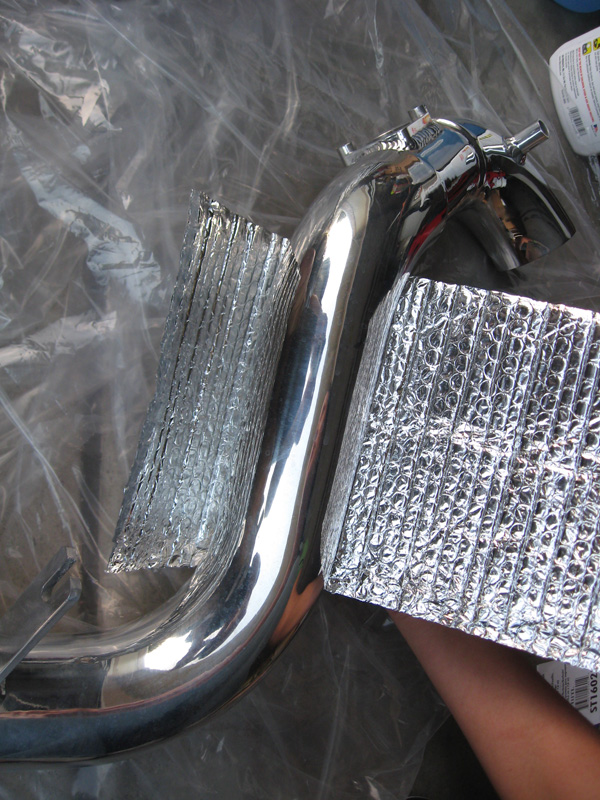 |
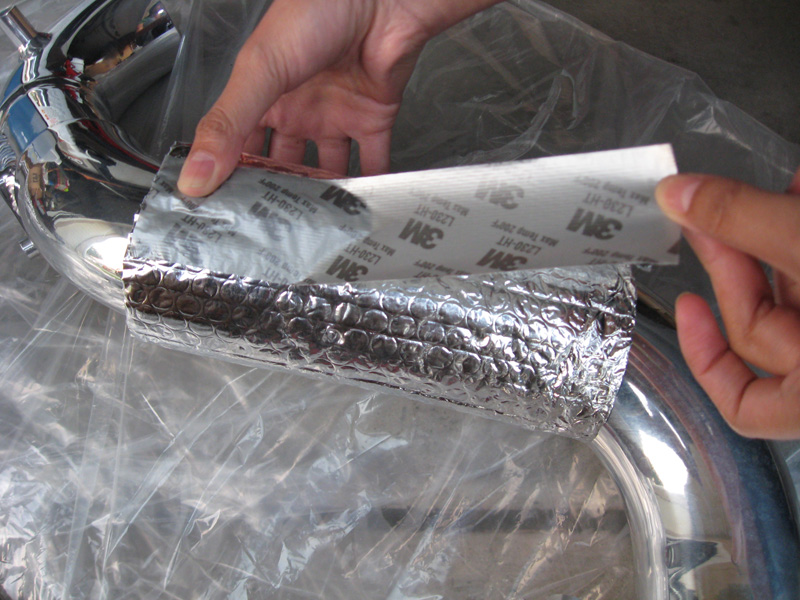
Begin with a sheet of intake wrap and cut it into squares that wrap around the longest straightest sections of your intake. |
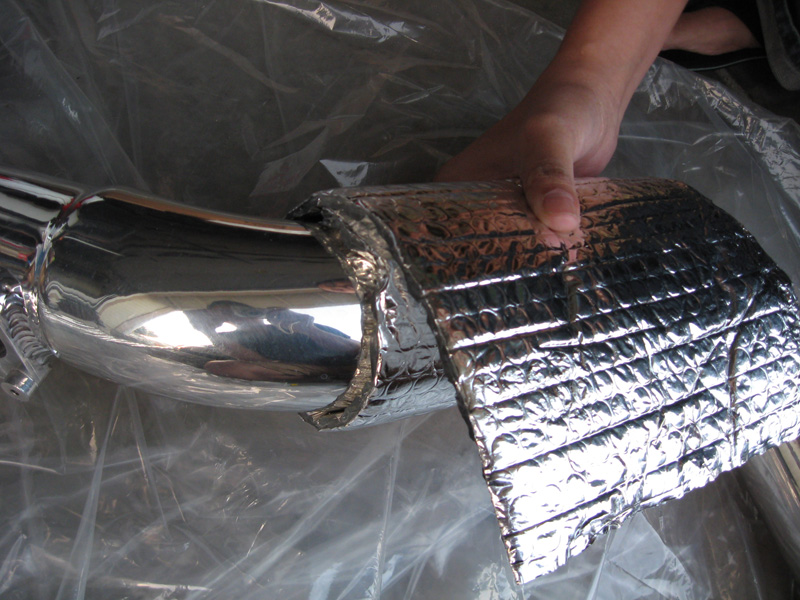 |
Wrap the intake and allow at least a 1" overlap of wrap. Make sure the wrap is snug and doesn't slide around easily. |
 |
Trim the excess material off with scissors and save scraps for another section or discard. |
 |
Using high heat tape, make an air tight seal around the intake wrap. |
 |
Make sure you cut open a window for the Mass Air Flow sensor. I just poked a hole and used scissors. |
 |
Here is the wrap stretching to allow for the MAF sensor. Make sure the insulation doesn't get in the way of mounting the MAF sensor and no scraps fall into the intake tubing. |
 |
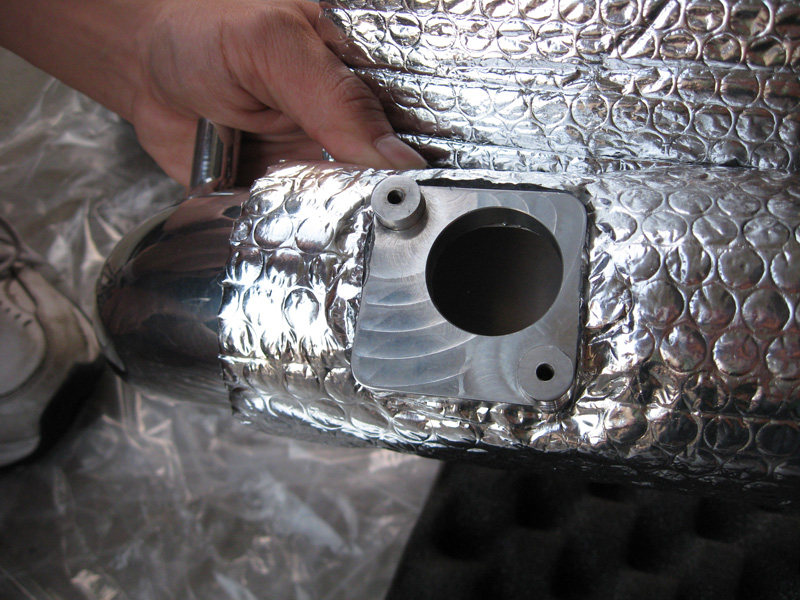
This is the wrap around the mounting bracket. I just cut a slot and afterwards I used tape to make the area air tight. Making the sleeve air tight promotes maximum insulation. |
 |
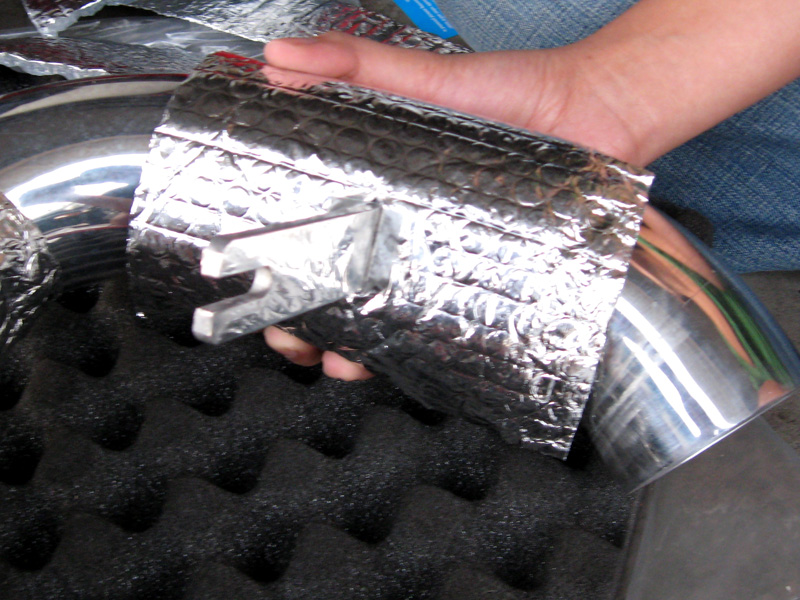
So here's what the intake looks like so far. We've only got three sections on and now it's time to do the bends for without the whole length being covered the insulation will not be effective at all. |
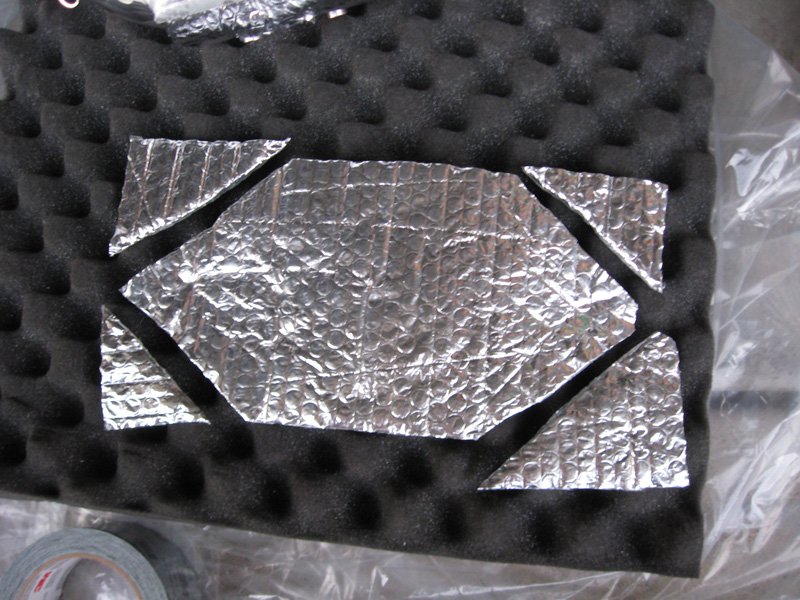 |
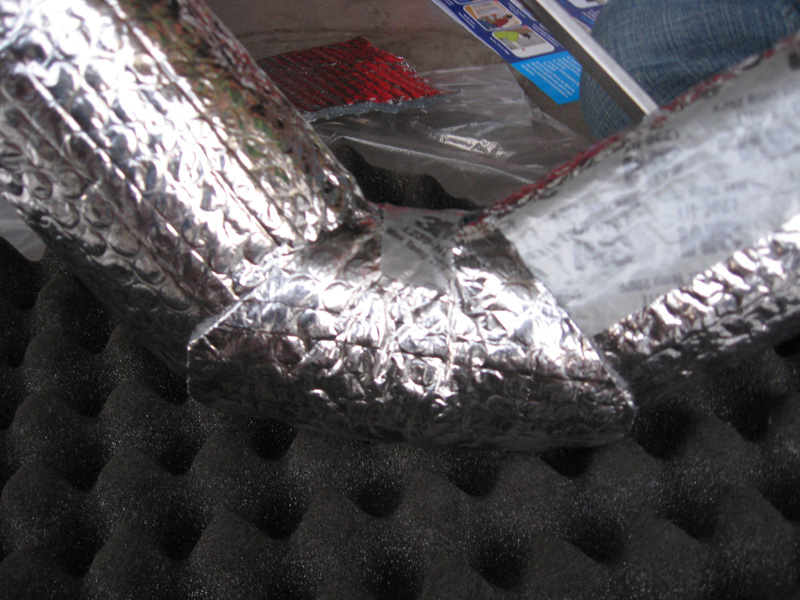
Cut a piece and taper the ends like triangles. |
 |
This "cut" piece will allow a clean wrap at the elbows of the intake. |
 |
Trim excess with scissors and tape all the edges so the elbow is air tight. I always wrap the joints with tape so there are NO seams showing for air to seep in. |
 |
This is another bend in the intake I've had to tape the ends of the piece to get it to wrap properly. |
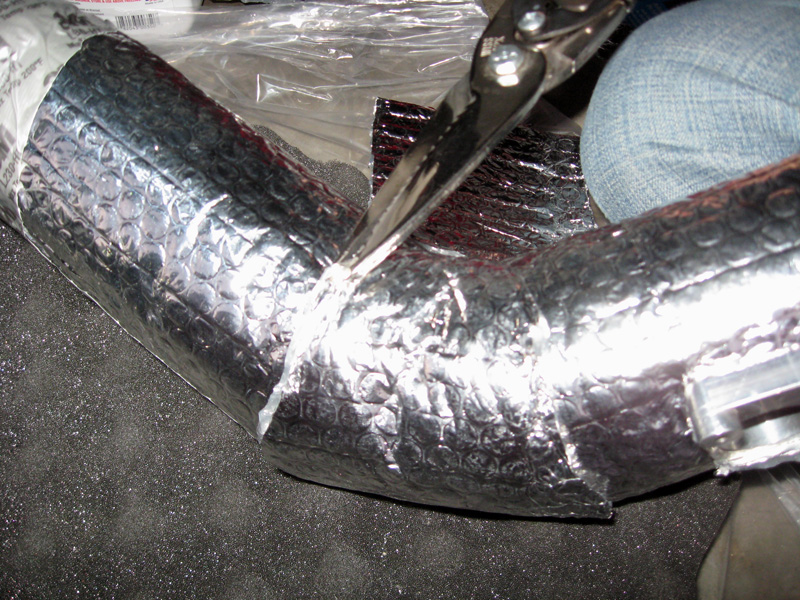 |
Trimming of excess allows the wrap to be more uniform in thickness and makes it look more clean. |
 |
Almost done, All that's left is to finish the wrap near the silicone coupler and install the intake in the car. Hopefully your intake was designed to have more than 5/16" thickness of clearance around it. If it does rub on something, then I would reinforce that area with more tape. |
| INSTALLED:
|
|
Contact us at: flexinnovations@gmail.com .- © 2009 Flex Innovations, All Rights Reserved
All photographs are property of FLEX
INNOVATIONS
|